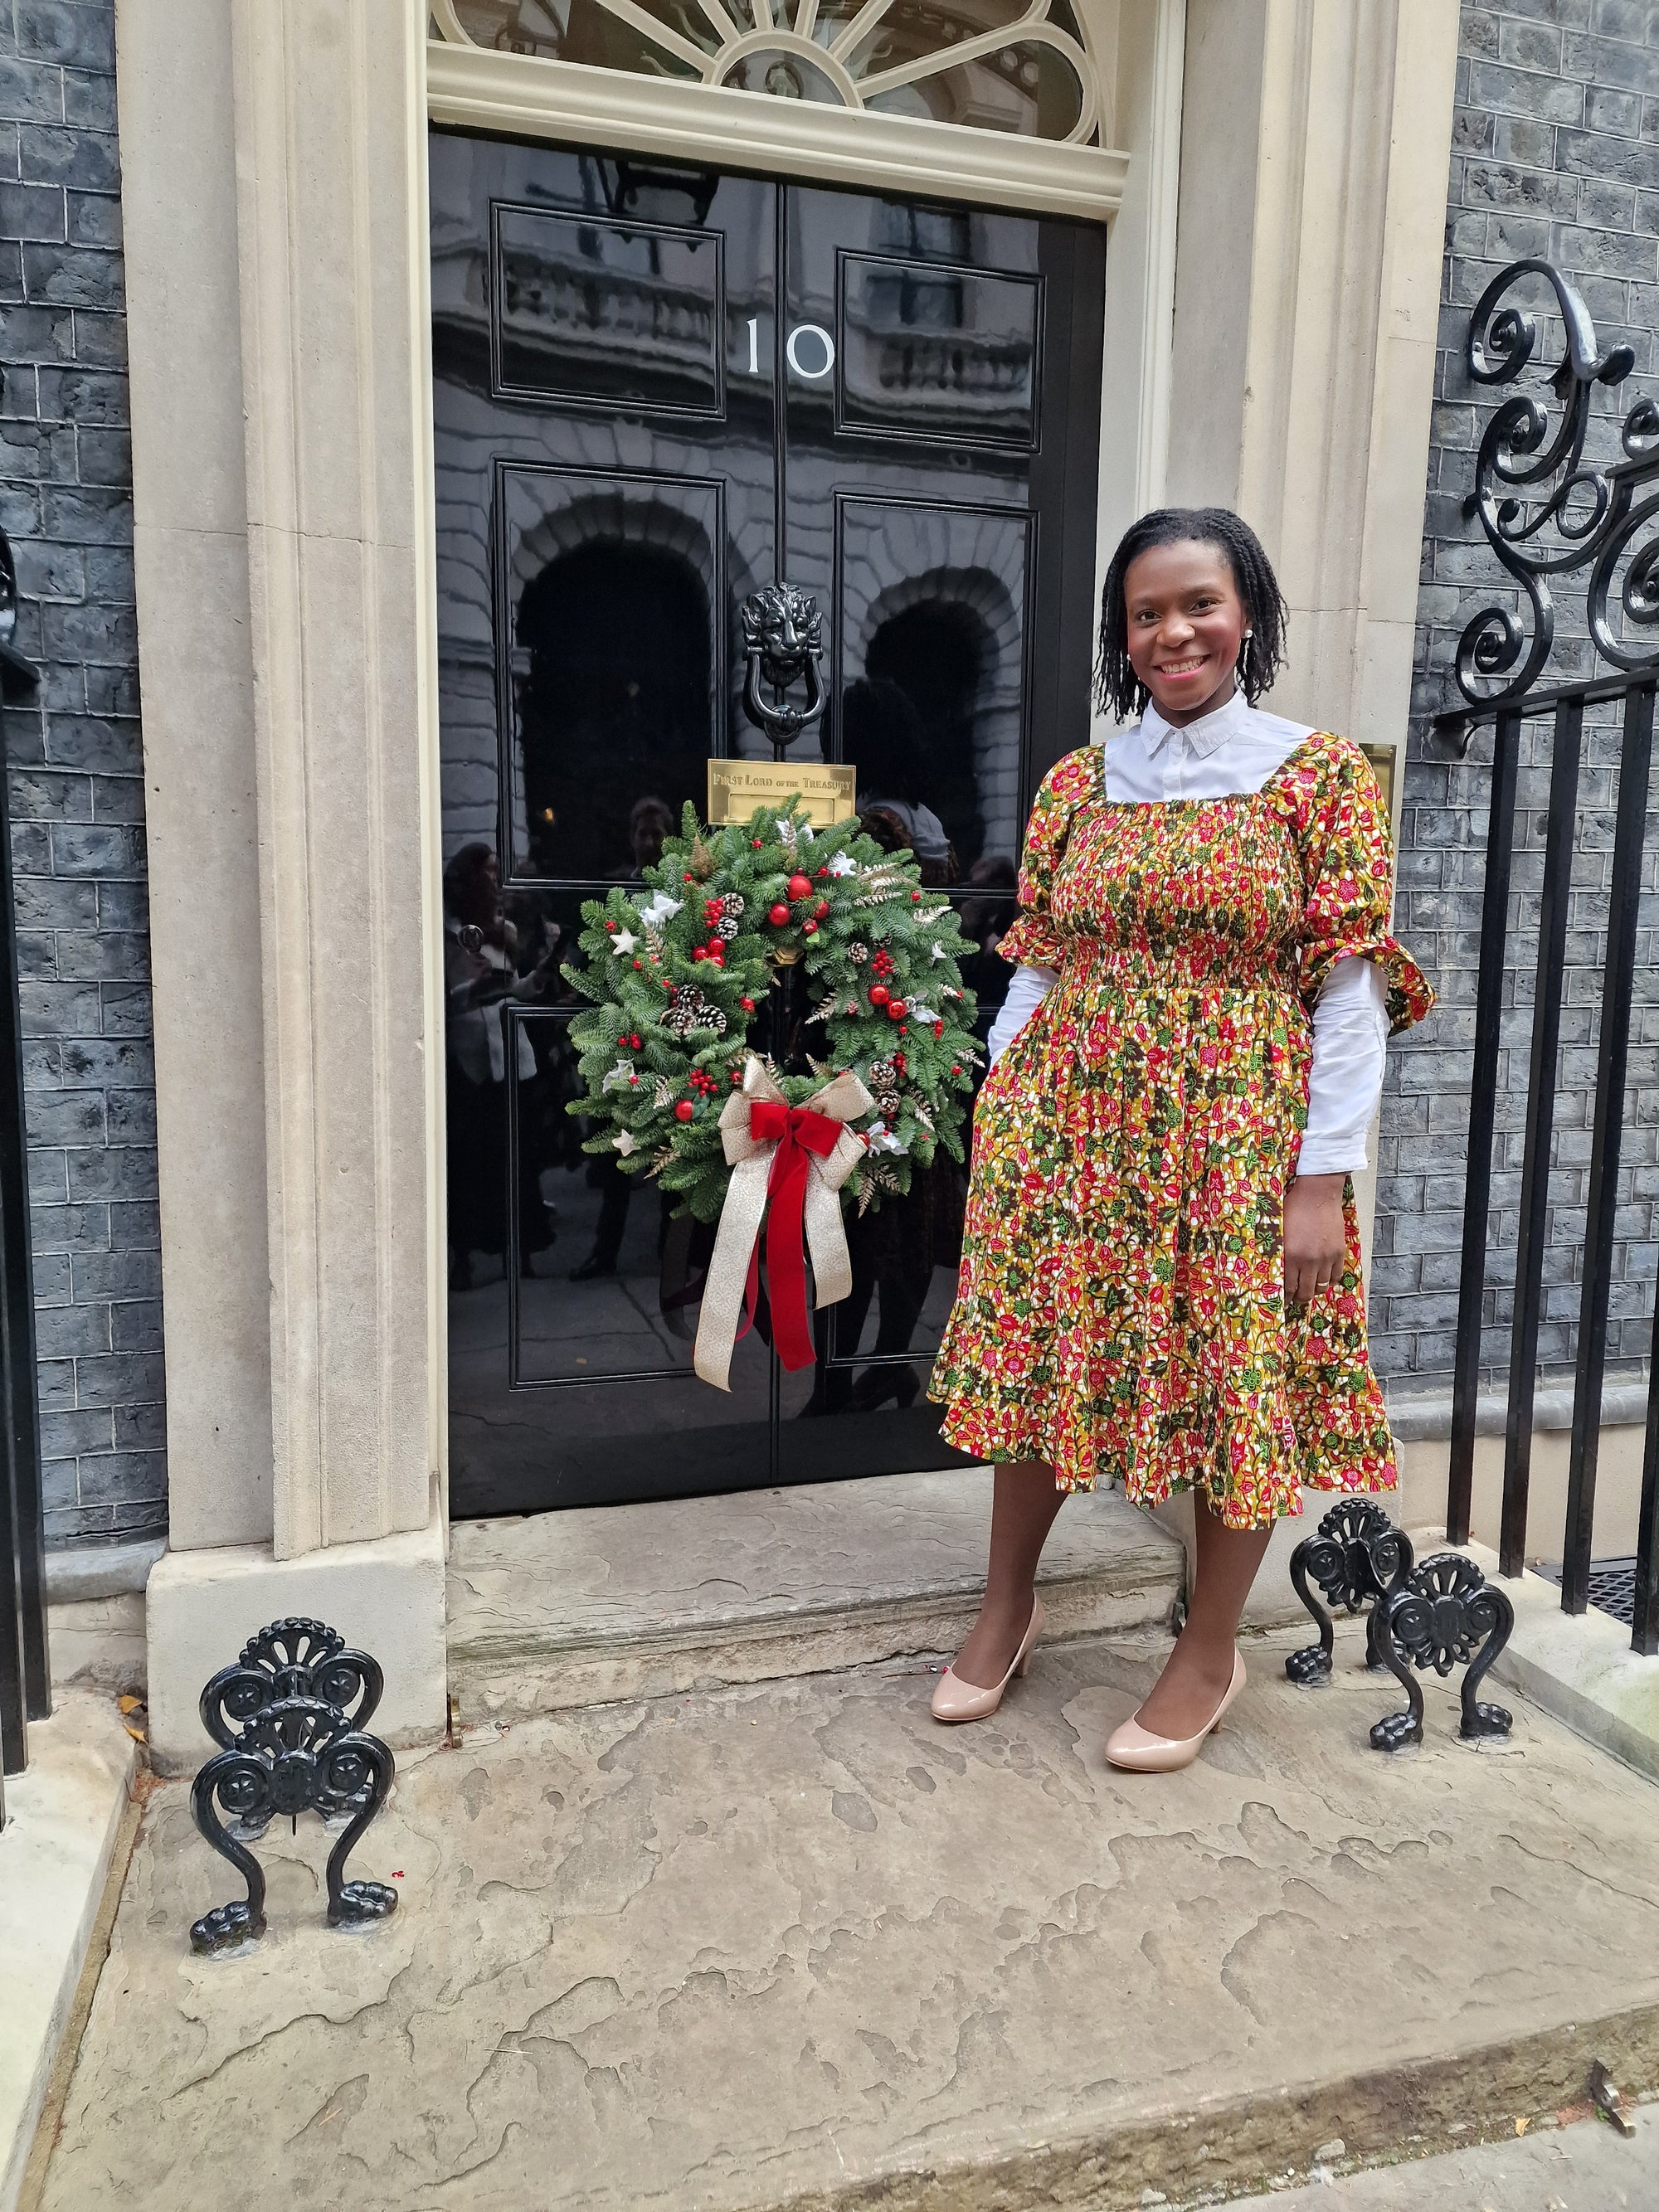
In this guest blog post, Lena (aka @thatlenaking) shares the process that she used to make her version of the Millie Dress in an African wax print fabric that I have called: 'Crescent Orange'. The pattern shows this print off beautifully and it is available in my sewing book: Sewing With African Wax Print Fabric. For the second year in a row, the lovely Lena uses some African wax print fabric from my shop to whip up a real show stopper! This year, she's 50! Doesn't she look great? There is a link to her blog is below. Grab a cup of your favourite drink and enjoy!!
"For my 50th birthday I wanted to make a simple dress in my favourite fabric, African wax print. I had been gifted the book “Sewing with African Wax Print Fabrics” by Adaku Parker and she asked if I was happy to blog a review of one of the patterns. I chose the Millie dress as it had the vintage vibes I was looking for. Adaku also gifted me 4 yards of this gorgeous fabric.
The orange and white is a bit brighter than what I would usually go for, I tend to avoid white backgrounds but I was drawn to this striking fabric. I think it goes well with this dress pattern.
The Millie dress is a simply constructed pattern. The bodice with the grown on sleeves makes it easy to sew. The skirt is fairly straight. The dress features exposed bias binding for the neckline which I am not a fan of so I decided to line my bodice, enclosing the raw neckline. I chose an electric blue lining which looked so striking against the orange that I wanted to include some of that same colour fabric to the garment in some way. I was also inspired by this dress by Katie Kortman who is a colour boss!
I also made a couple of other changes to my Millie, some intentional, some unplanned.

Looking at the dress and the measurements that can be found here on the Dovetailed website, I knew I was going to struggle a bit. The dress is quite roomy in the bodice and more fitted through the hips. I am a bit of a skittle shape, small bust, smallish waist and wide around my bottom and hips. There are no darts in the bodice or skirt so I knew I was going to have to do some grading out and maybe add darts to the skirt.
I decided to make the dress in the lining fabric first to act as a toile. I cut a 14 bodice, grading out to a 16 at the waist. It was silly of me to cut a 16 skirt as the measurements were putting me between an 18-20. But this was so outside my normal measurements so I assumed there must have been a mistake. Lo and behold when I sewed the skirt lining up I could barely pull it on! The top seemed okay. I decided to change the back and cut it as a v-neck. The bodice did seem a bit roomy by I thought it would still work, so I stuck with the 14.
Now what to do about the skirt? A 14 bodice grading out to a 20 at the hips could work. But I still felt it needed some darts to give it shape. I found a skirt pattern from another dress that I knew fit me well and used it over the Millie pattern to mark in some darts and make the hips a bit more rounded.

I really tried to make this a neat sew because truth is, I like to sew as quickly as I can, so I often don’t bother to do things like iron seams open or finish seams. I know, bad eh? But even with sloppy sewing, projects always take me way longer than I plan. Anyway with this dress I lined the bodice and finished all the seams neatly with a long and narrow zigzag stitch. I don’t have an overlocker and when not doing French seams, this is my favoured method of finishing.
My zip was a joy, no unpicking was needed. I have decided that I will always hand baste my zip in place before machine stitching it, this always gives satisfying results. I haven’t got round to buying an invisible zipper foot for my new machine but because the machine needle can be moved a lot, I can still get really close to the zipper teeth using an ordinary zipper foot.

I had bought some lovely blue poplin from Fabrics galore which I used to make this sash belt. Unfortunately it’s not long enough to tie into a bow.
When the dress was made, I was happy with most of it but I still felt the bodice was too big and puffy. This was really frustrating, I wished I’d cut a size 12 bodice but I really couldn’t face unpicking it all and starting again. So I began to play around with lifting the dress up at the shoulder seams and adding pleats to reduce the fullness and raise the neckline. In the end I stitched a bigger seam at the shoulders, about an inch and then I made a little pleat at one side to create a gentle asymmetric neckline. You can’t see it too clearly on the pictures but I’m really pleased with how it turned out. Instead of unpicking the whole bodice, I just had to unpick a section of the neckline and hand stitch it back up.

What have I learned from this project? Toile it! Make a muslin! I have so resisted doing this, like I said before, I just want to get on and get finished. But actually, not making a toile is often a false sense of being speedy. It’s like with sewing zips. I used to feel that just pining and sewing was quicker but I was never able to sew a zip in perfectly and would have to unpick and start over. Hand basting actually saves time and frustration. So I am being converted to the sensible process of making a mock up, I’m being slowly converted.
I would just encourage you to measure carefully when working with this pattern and even measure the pattern pieces to ensure you get it right. When talking to Adaku that was the tip she gave, always measure the pattern pieces especially at the widest parts, the hips and bust. I think again my desire to get things done quickly means I tend not to want to bother with this. The Millie dress has a lot of ease in the bodice but little in the skirt, so thoughtful measuring is needed. The patterns go up to a UK 26, 54 hips. I am usually a UK 12 -14 , but these measurements put me at a 14 -20 and I actually needed a 12 bodice, grading to 14 at the waist, to 20 at the full hips.

I’ve also learned that I just can’t leave patterns alone, I always want to tweak a bit here, hack a bit there and that’s okay. I’m all about making those unique, “this is me” garments and I love what I’ve done with this pattern."
Shop Sewing with African Wax Print Fabric Book here.
Shop Crescent Orange African Wax Print Fabric here.
Visit Lena's blog here.


Comments
Thanks Wendy!
This looks fab, well done!