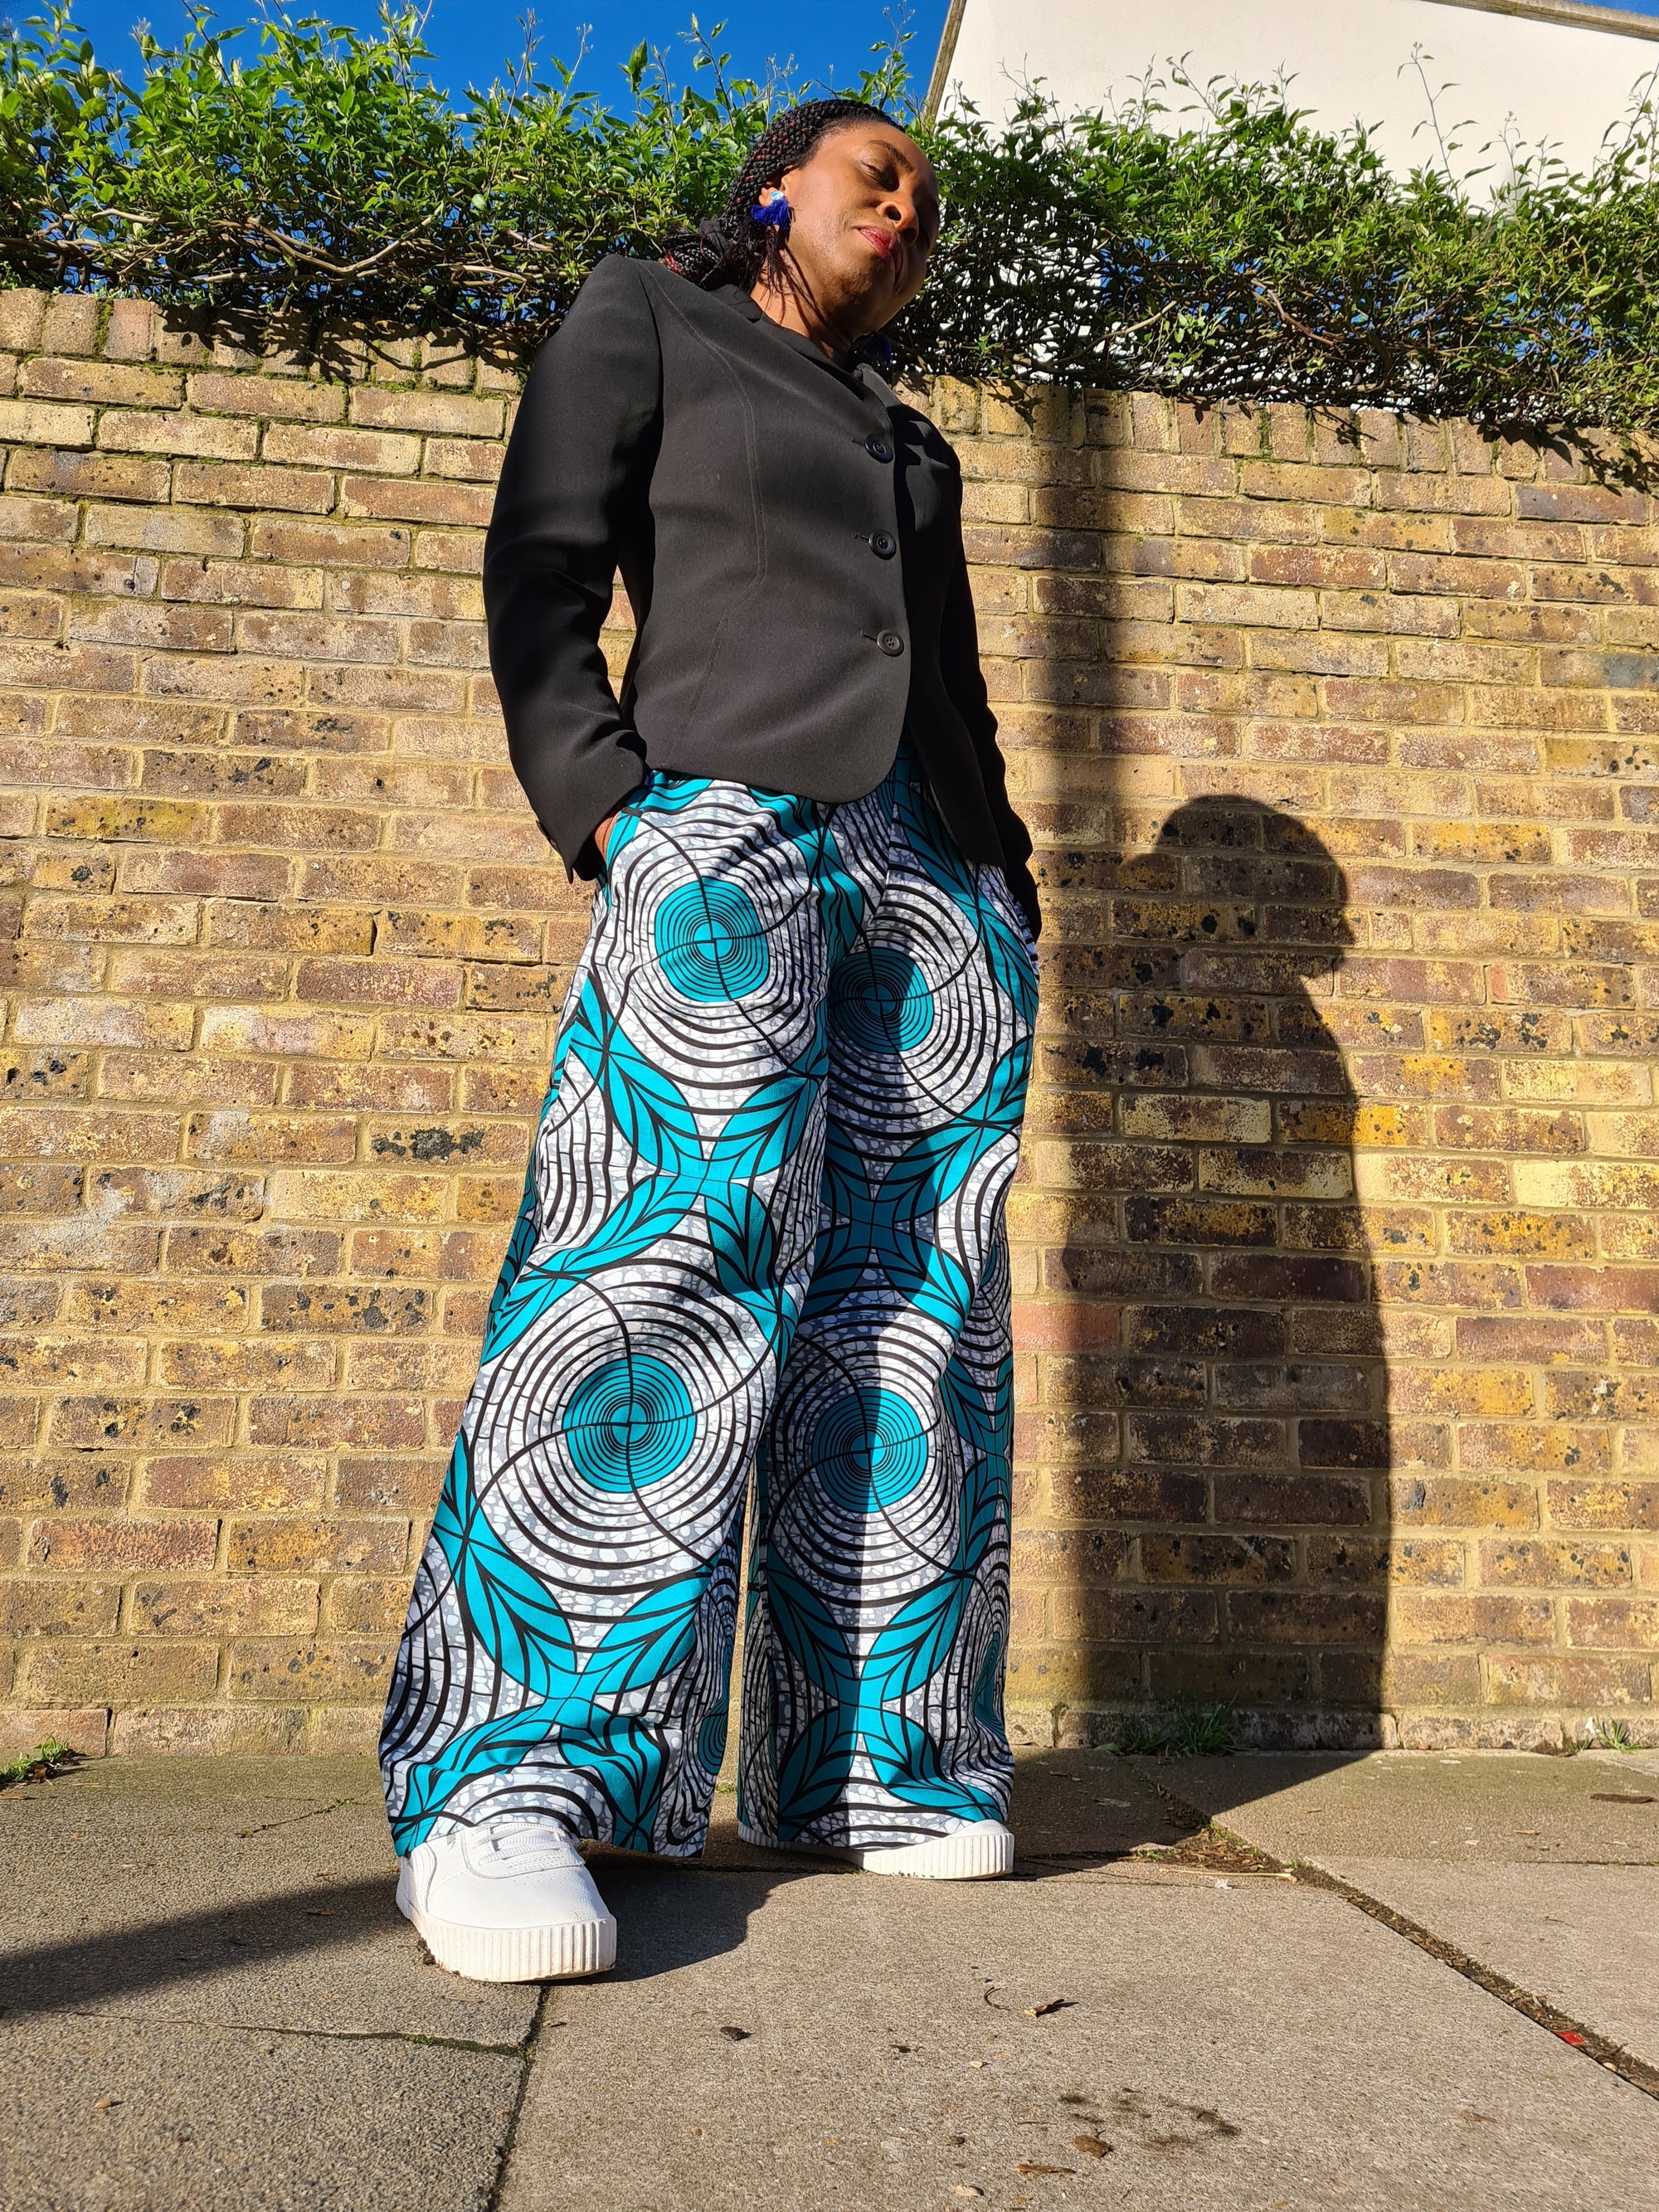
"I am so in love with these trousers. I feel ready to take on anything wearing these! Bring it on 2021, I'm ready for you! These trousers are seriously ‘the boss'.

When Adaku of Dovetailed London asked if I'd like to have some of her gorgeous fabric and Claudette palazzo pants pattern in exchange for a blog, I didn't take too long to reply! I had already been stalking the Dovetailed website and had my eyes on this ‘River runs through it' fabric.
Let's talk about this make. Do you know, the best thing about this pattern is that my lovely daughter is the cover girl! Hehe. She and I got to do some modelling for the new Dovetailed packaging a while back, it was fun.

This pattern is given a difficulty rating of 3 out of 5, but I think a beginner sewist could handle this. There are no zips or buttons to worry about. However, I do think that the pattern instructions assume a knowledge of sewing trousers that a beginner wouldn't have, thus the 3 stars I guess.
There are just 4 pattern pieces, front leg, back leg, pocket and waistband, simple. The construction is really straight forward.
The size range is from a U.K 8- 26. I spent quite a while pondering what size to make. My measurements fell between a 12 and 14, I checked the finished garment measurements and saw that they allowed about 2 inches of ease. I decided to sew the 12, grade out to a 14 at the hips and then back to a 12. On the pattern the sizes are colour coded and the size 12 is a pale yellow which was a bit difficult to trace, you might want to go over the actual pattern in a darker colour.
The pattern suggests that smaller scale prints work best for this pattern and I see the sense in this. These are a large pair of trousers, how much more of a statement do you want to make?! Also, a large scale print means you may want to pattern match. Well, I went for a large scale print, although when I ordered it, I couldn't really tell how large the circles were. I knew that I wanted to make some adaptations to make my trousers a little less of a statement and hoped the fabric would work well. I think it did!

I'm not a huge fan of elasticated or gathered waists, I prefer flat fronted garments as I like a smoother silhouette. So, making a size 12 waist when my waist measurement was actually for a 14, I hoped would give me a little less gathering, and it did. I also adjusted my pattern to remove some of the fullness just because I like a less flared wide leg trouser. To do this I took both the front and back leg pieces and marked the knee point and then drew a line down to the hem. I cut along the line. See picture:

Then I overlapped the piece by 3 inches and stuck it down to create a new pattern piece. I don't know if this is the correct way to reduce fullness, bit it's my way and it worked.

As I said before, the construction was really simple. The raw outside and inside edges of the trouser legs and all but the top edge if the pocket pieces need to be finished first. I don't have an overlocker so I used the overcast foot on my machine to do this, zig zag stitch would work too.

If you've not made a pair of trousers before, then this is a good pattern to begin with. There is a certain sense of magic in sewing up a pair of trousers, at least it was for me when I made my first pair. You join one back piece to one front at the long side pieces and around the pocket to make your 2 legs. Then you put one trouser leg inside the other, right sides facing and join them together at the crotch seam. When that's done, pull out the trouser leg that's on the inside and voila you have a pair of trousers, nearly. That probably didn't make any sense but I assure you if you just follow the instructions and take a special note of anything capitalized, you'll be fine.

And now for the waistband. The pattern calls for 1inch elastic, I only had 1 and ¾ inch elastic and seeing as I actually prefer a deeper waistband I used that. So of course I had to adapt my waistband pattern piece by adding three quarters of an inch to its depth. For the second part of the attaching the waistband process, I decided to hand stitch the waistband in place. I always find it so hard to catch the wrong side of the waistband if I topstitch from the right side. My trousers are a little longer than ankle length because I'm 5”4, but that's cool as I wanted them longer.

I really love the way the trousers have turned out, they feel really balanced despite my alterations. I'm not one for wearing heals or being uber smart, besides there's no real reason for dressing up right now. I intend to wear these with chunky white trainers or chunky sandals, that's me. I enjoyed wearing them with a plain black top and blazer, then switching it up with my denim jacket.

Now, for all you pattern matching lovers out there, I made no attempt to pattern match at all and I'm not sorry. I wanted to break up the pattern and not have to spend ages and use up any more fabric than I needed to trying to line up the print. I still think the overall affect of the trousers is good, better than good, pretty cool really. ![]()


Comment
I love these pants on you and the bold choice of colour and large print works so well. Truly inspirational!